I’ve been wanting to make some of my own tools for a while now.
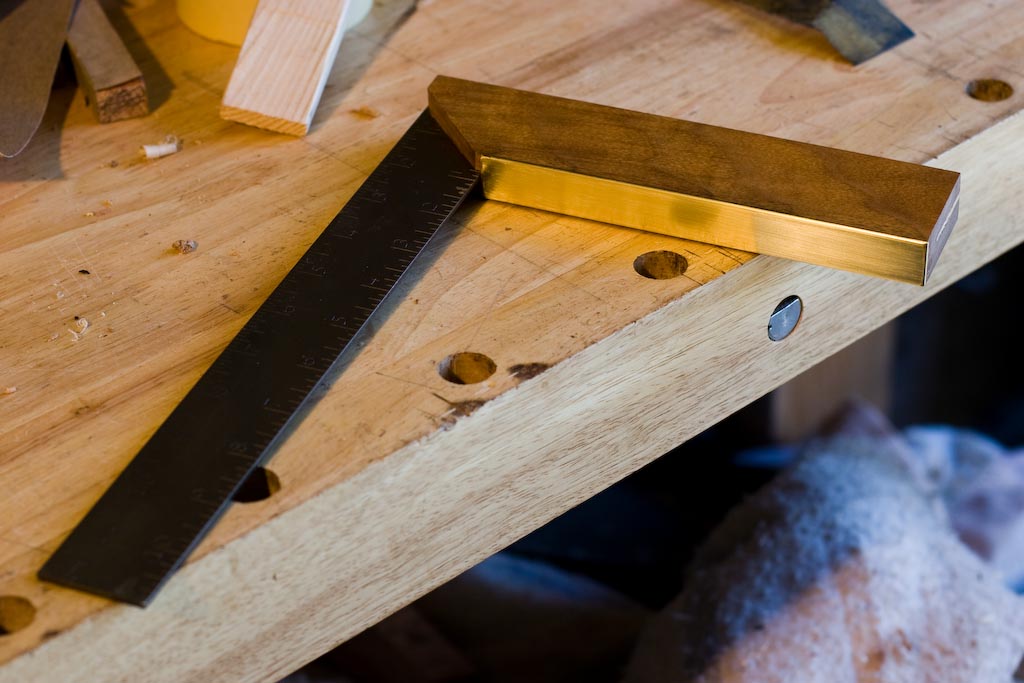
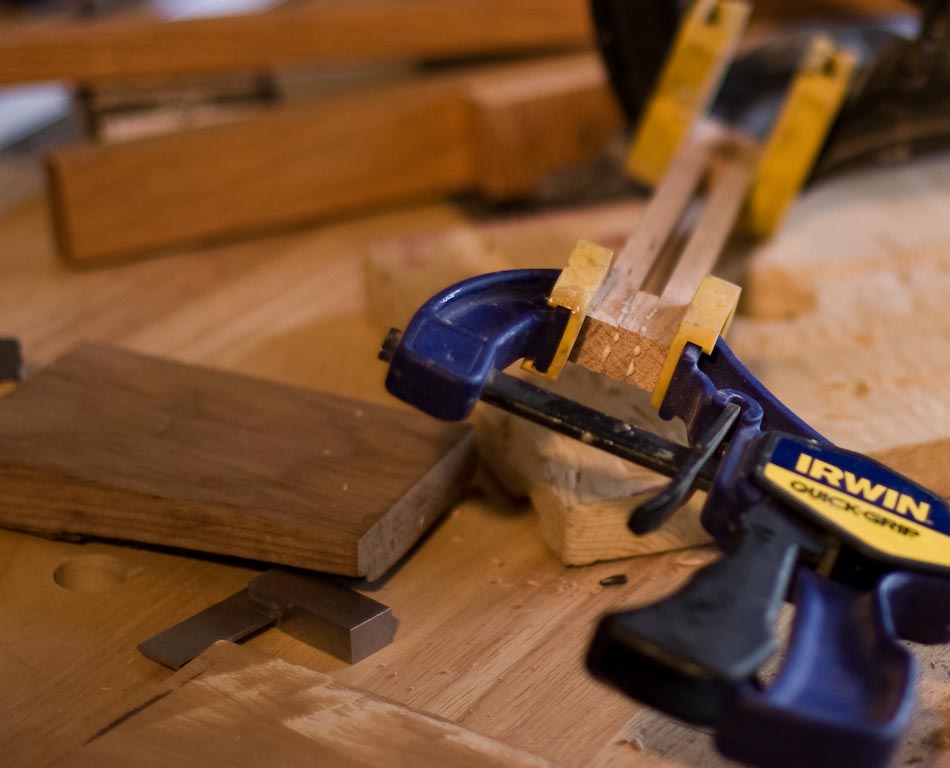
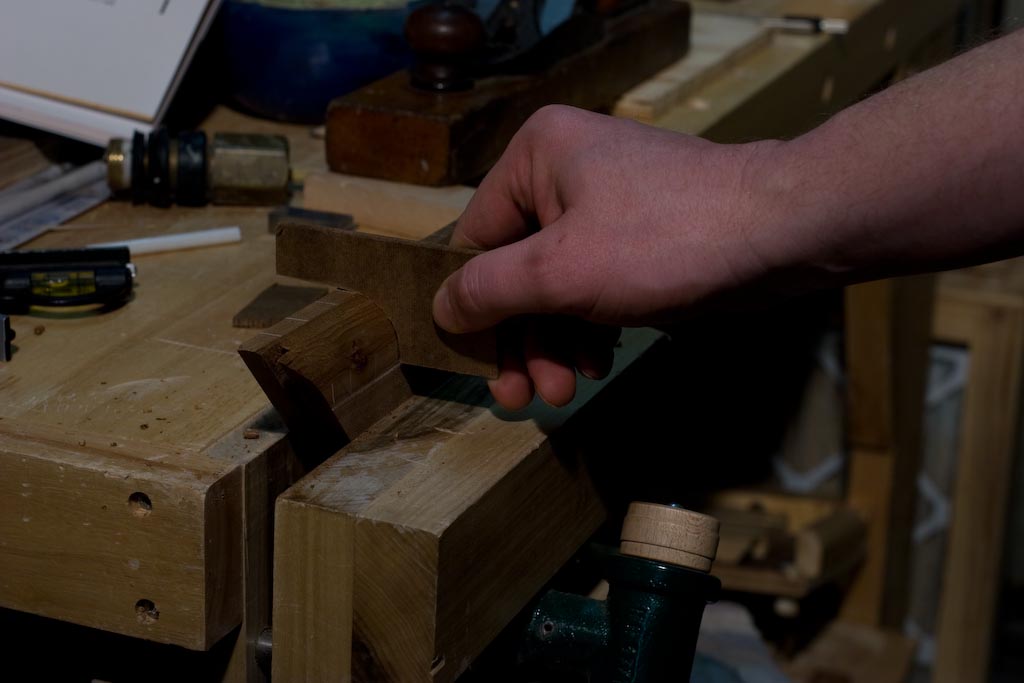
To that end, I’ve been working on a walnut handled square for quite some time. I now agree with most of the bloggers out there that most engineer’s squares, like you can find at the home centers are crap. Drop them a couple of times, and they go out of square. Framing squares on the other hand are almost indestructible and just as cheap. So, why not put a wood wrapper around a smaller framing square? This is my attempt.
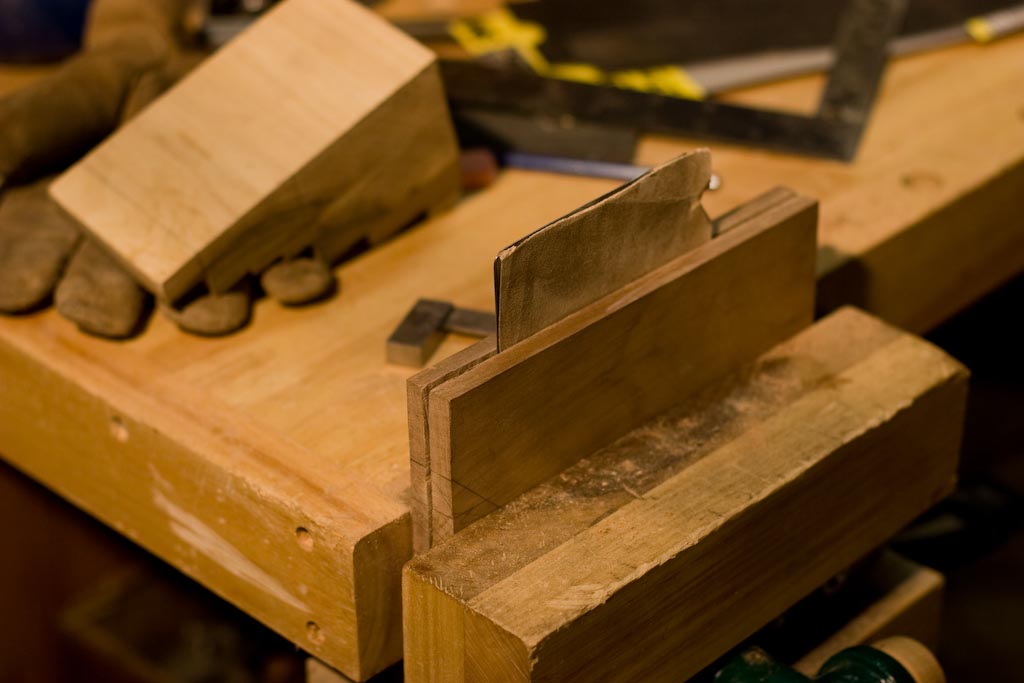
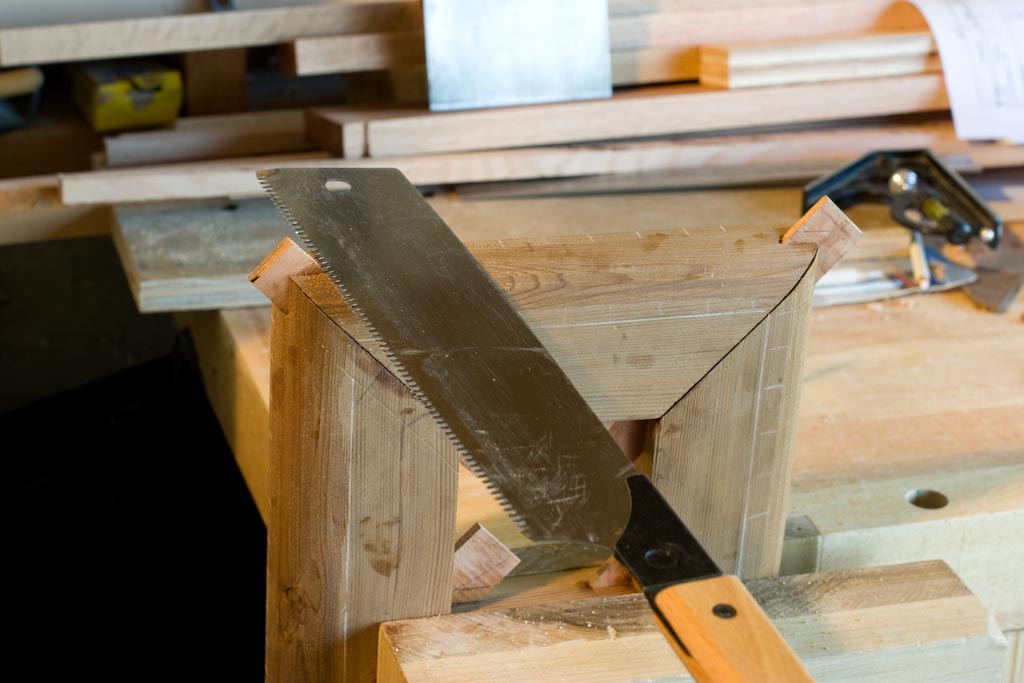
The first step was to saw a wide kerf, with one of the recently refurbished 5tpi rip saw, and then finish it off with some sanding.
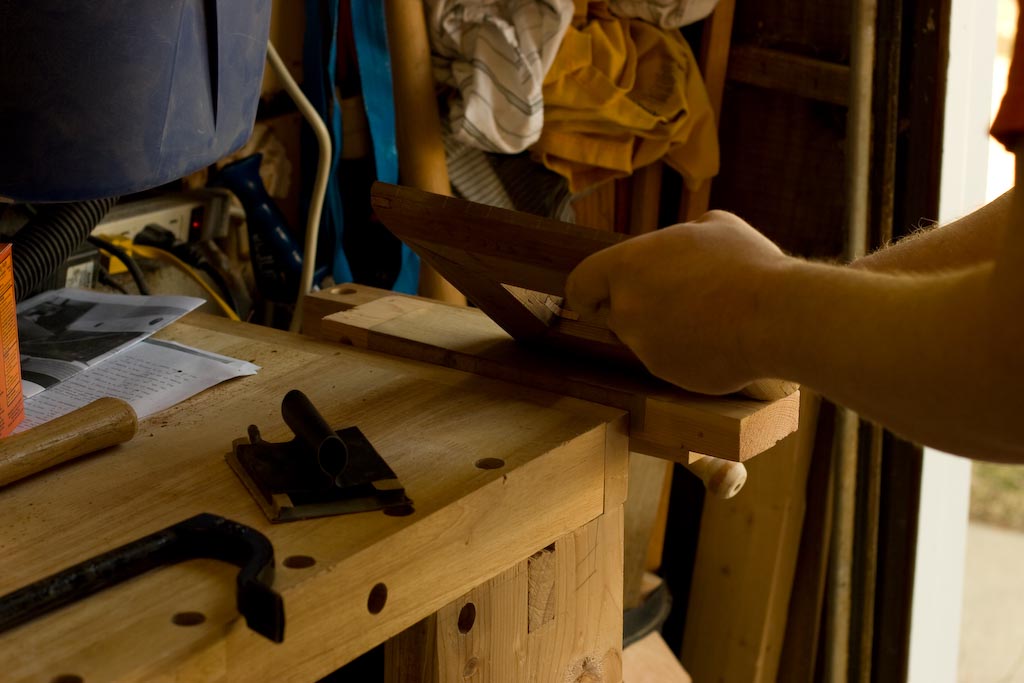
Then keep sanding until it fits. Then Epoxy it in place.
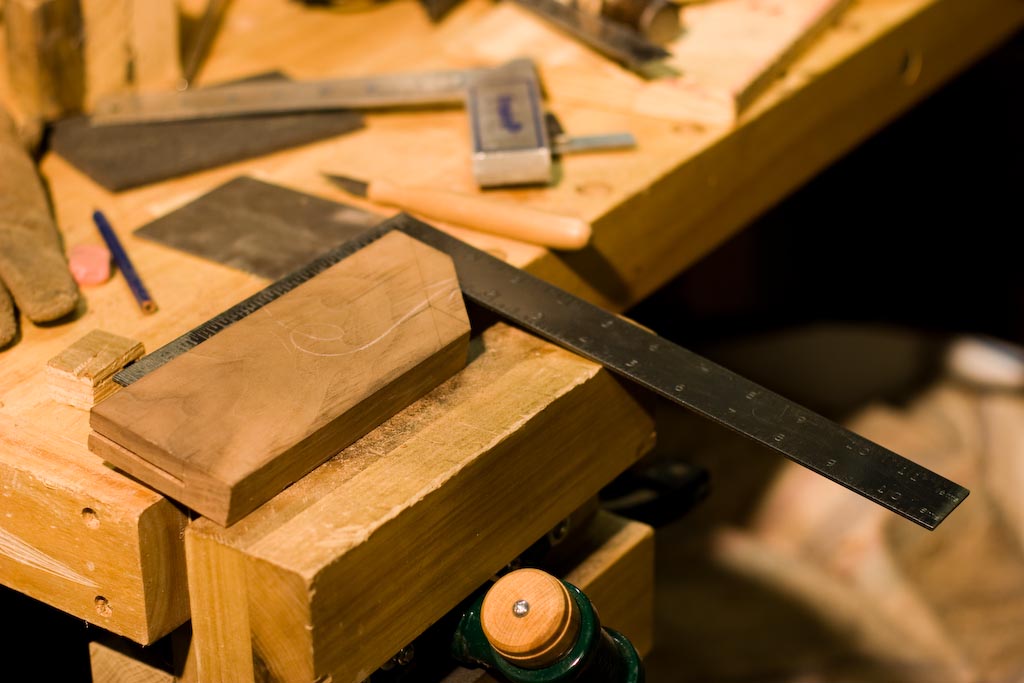
Then square it up by a combination of a plane and sandpaper mounted on a flat surface (planed 2×4 in my case). Once square, more epoxy for a brass rubbing plate, another square check and some cleanup.
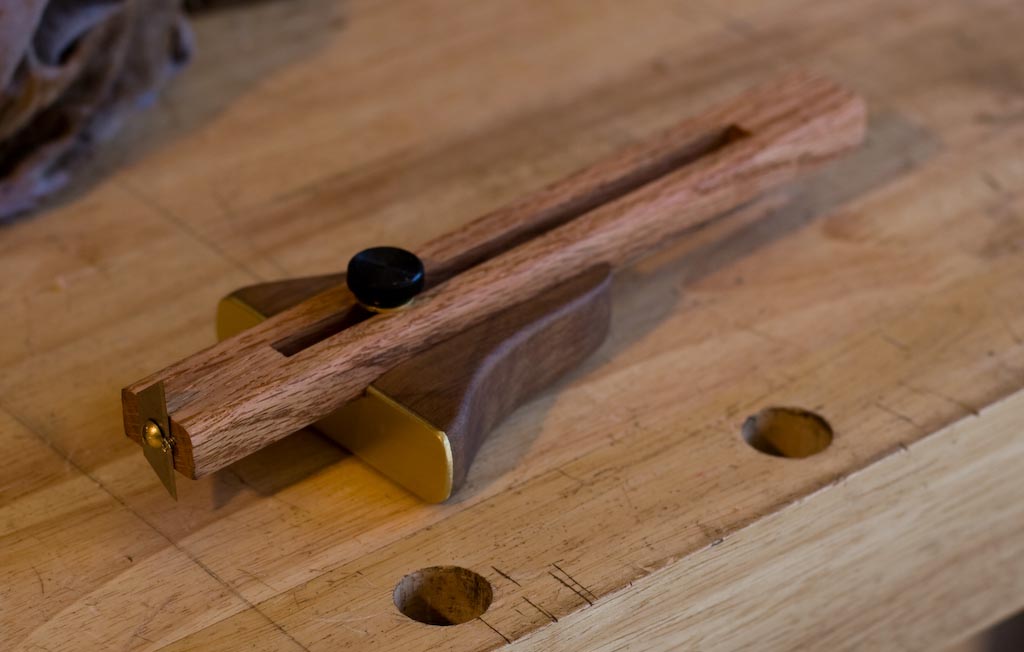
Next up, I managed to make a marking guage in less than 2 days! From scrap wood!
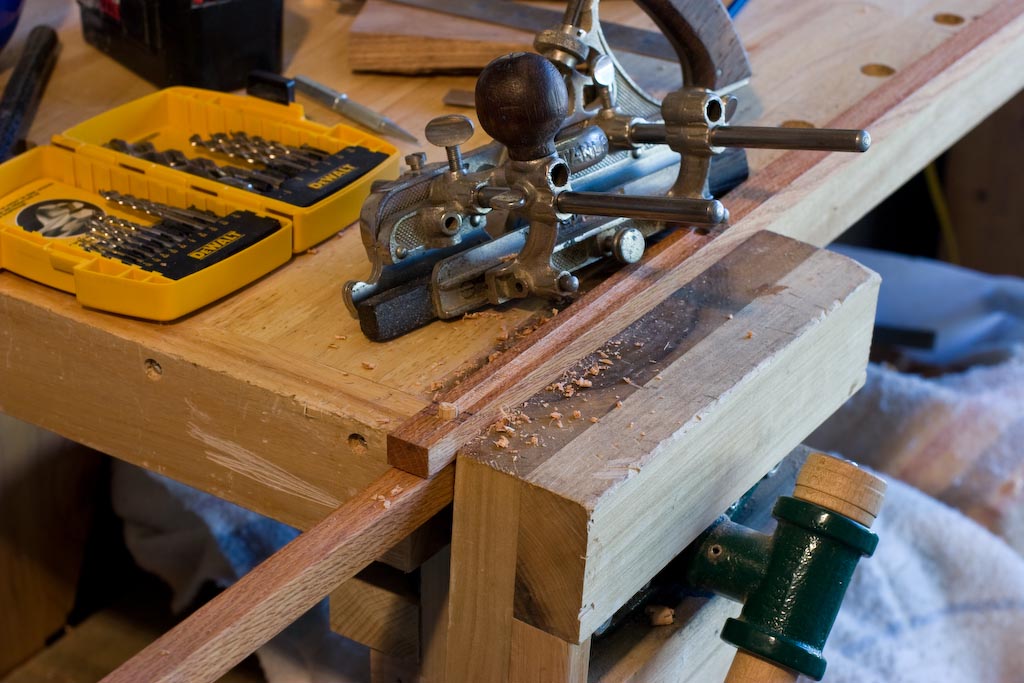
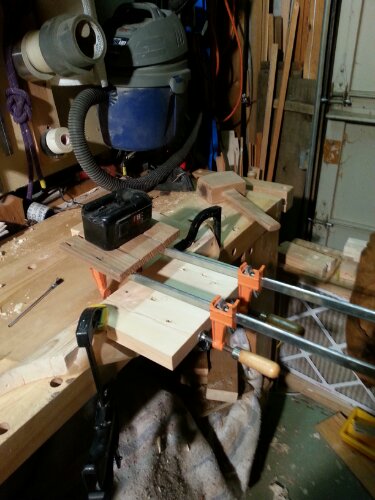
First, I tried to make a channel for the screw with the routing plow plane, between to pre-drilled holes. No Bueno. The routing plane can’t start and stop in a short distance. I ended up just creating a shallow dish.
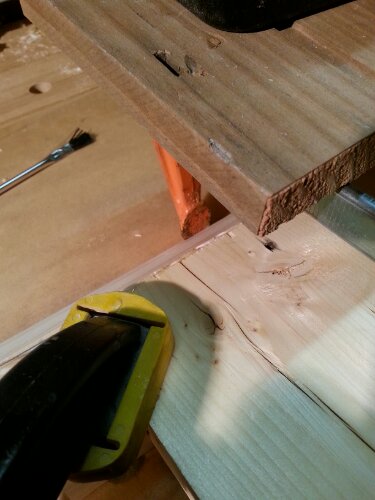
On to the more usual approach – rip cut some strips, and then glue in some spacers.
Despite being about an inch wide, the channel in the mating piece was pretty easy with the routing plane. So was roughing our the shape with the coping saw, files and 60 grit sand paper.
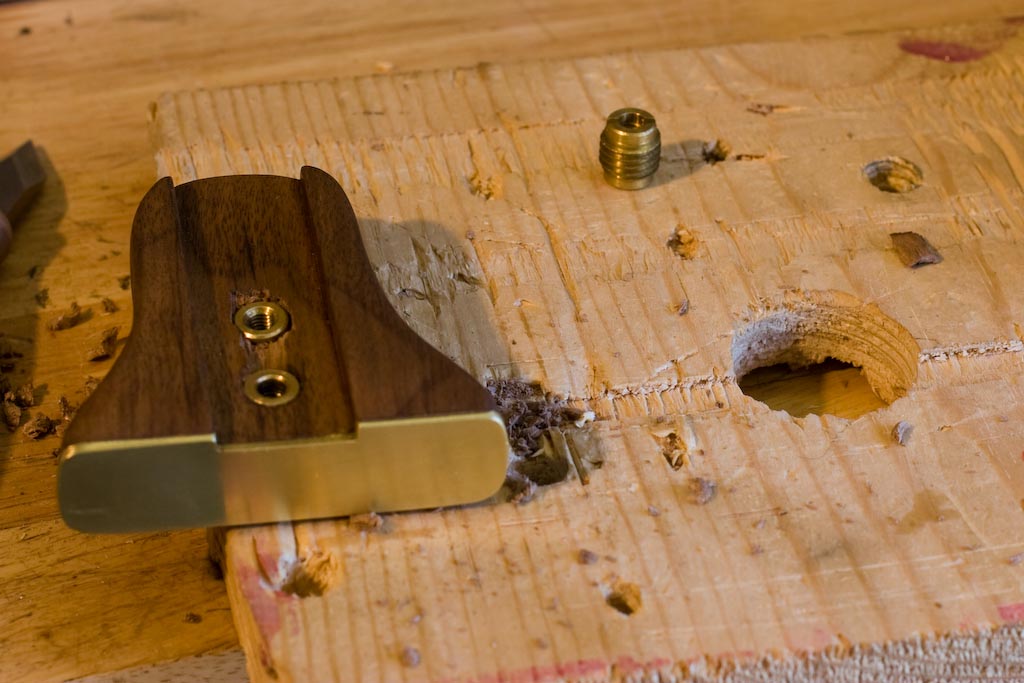
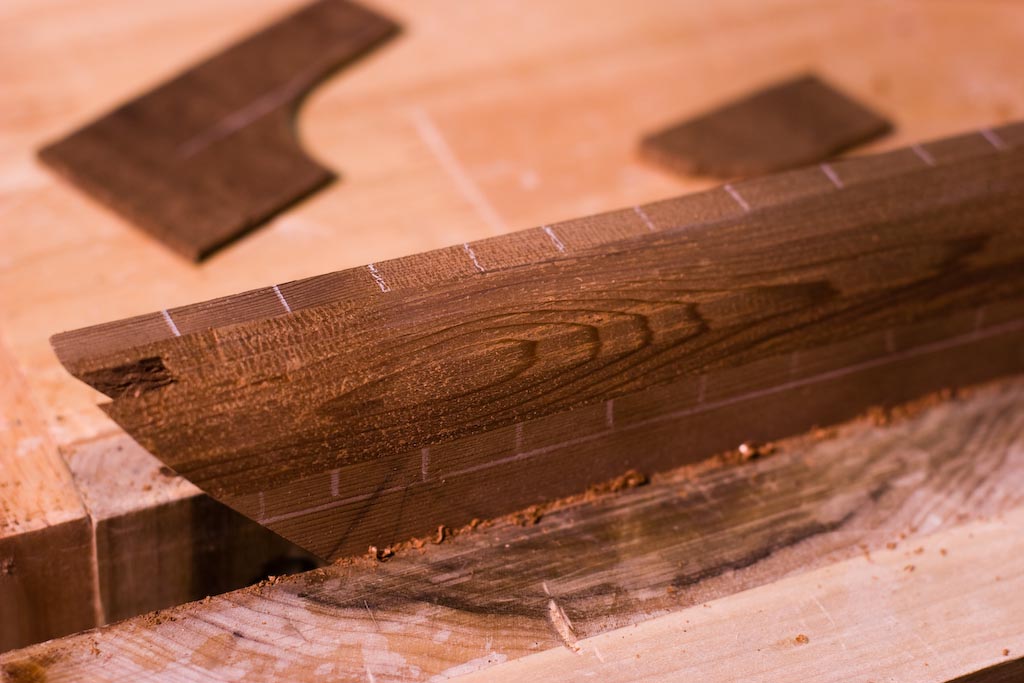
The problem was drilling the holes for the inserts. I must need to sharpen my drill bits or do something different. On both holes – oh yea, planning is important too; I had tear out on the top, and tear-out on the bottom (despite having a backing piece in place). Notice the nice big chunk that tore out between the two holes on the top (the chunk itself is sitting in far right of the picture above).
Steve Emmons has a video posted, where he makes essentially the same style guage, but with a different shape for the lower piece – using power tools. One thing I did learn from the video was how to properly install an insert – use a screw inside the insert, instead of the slots. No wonder I bent the slots the first few times I tried to do an insert.
The other problem with the inserts is that the manufacturer recommended a 3/8″ hole, which worked fine in the test hole I tried in pine, but failed miserably in the walnut. Luckily, by the time I did the 2nd hole, I found I had a 13/32″ drill bit, which worked much better.
The wood whisperer has had good luck with just tapping threads into the wood. I think I might have to try this approach next time.
A little bit of boiled linseed oil, and then some wax for the sliding faces, et voila!
I have yet to use either tool on a real project yet. I’ll have to see how they work out.
Lessons Learned:
- Don’t always trust the manufacturer?
- How to properly install an insert
- I still can’t do a proper job on drilling holes – might need to experiment with sharpening my drill bits.
- Using epoxy to glue metal to wood was way easier than I thought it would be.
- You can’t start and stop a (hand style) routing plane. They really want to make a channel all the way through the piece.
- Filing brass is actually pretty easy, even when doing it by hand. The biggest problem I had was that sometimes little flecks of brass filing would embed themselves in the wood.
- If I had to do it over again, I would just rip the sqaure’s handle into two pieces, so that I could get each half nice and parallel, and do it quicker. Then, glue in a spacer, similar to the marking guage.
