Becky’s dad was kind enough to give me three old saws, and then I found 2 more for $5 each at the Longmont indoor flea market.
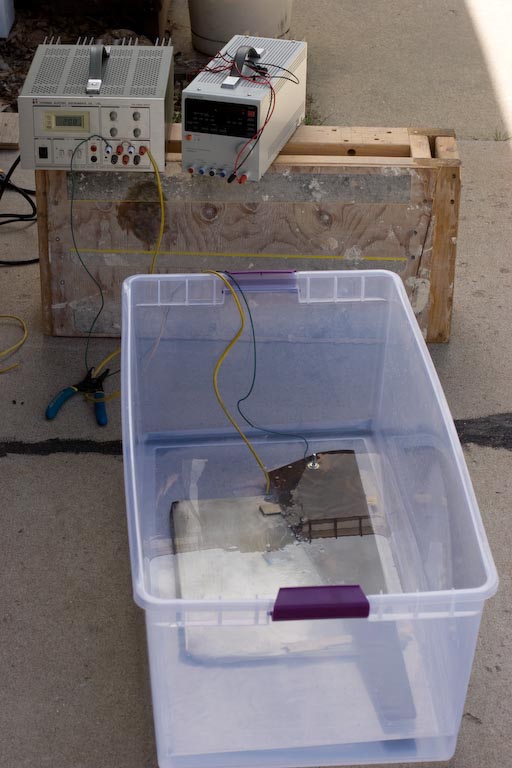
So step one, was rust removal (using electrolysis). However, after 3 saws, I ended up just using brasso polish and sandpaper – which seemed to do OK too. I think the electrolysis approach might have worked better if I had a beefier power supply, neither of the supplies I had would do even 1 Amp at 12V. The best I could do was with the 6V, 5A supply, which ended supplying more like 5V at 5A.
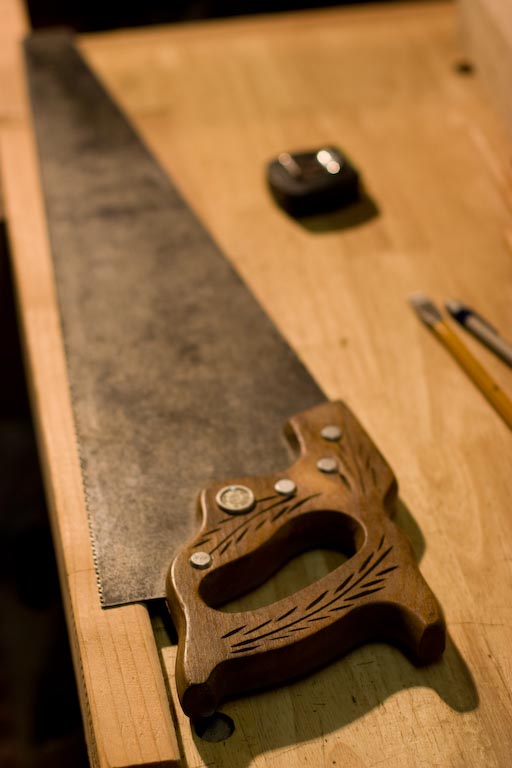
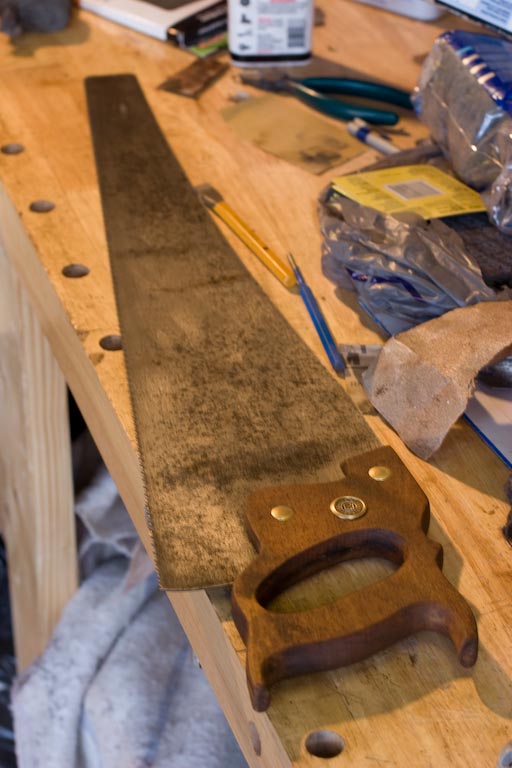
Some saws came out better than others.
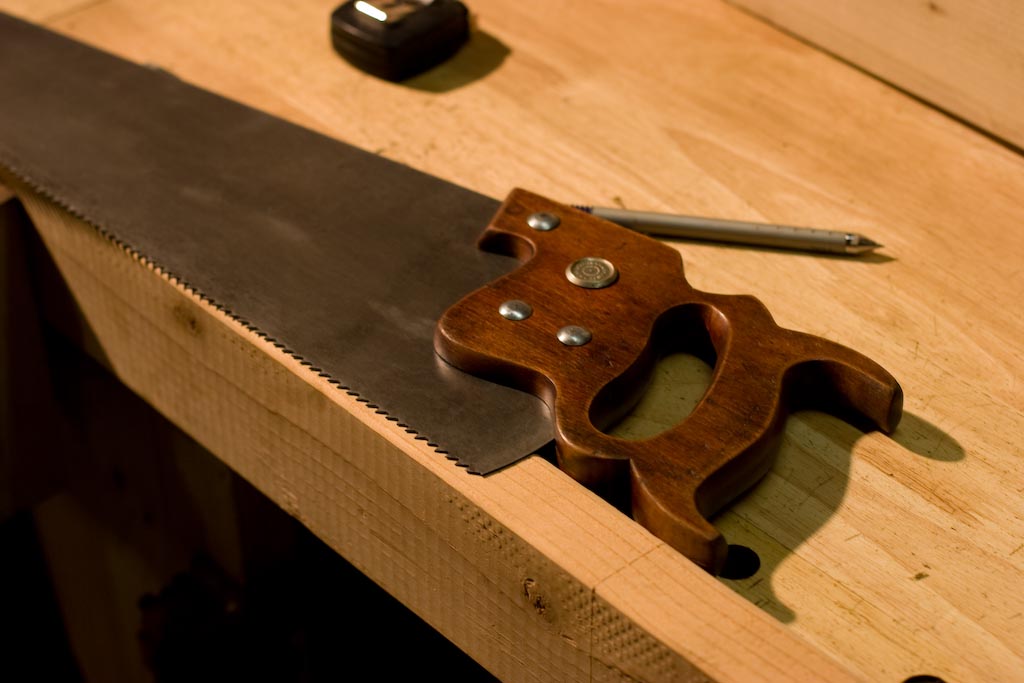
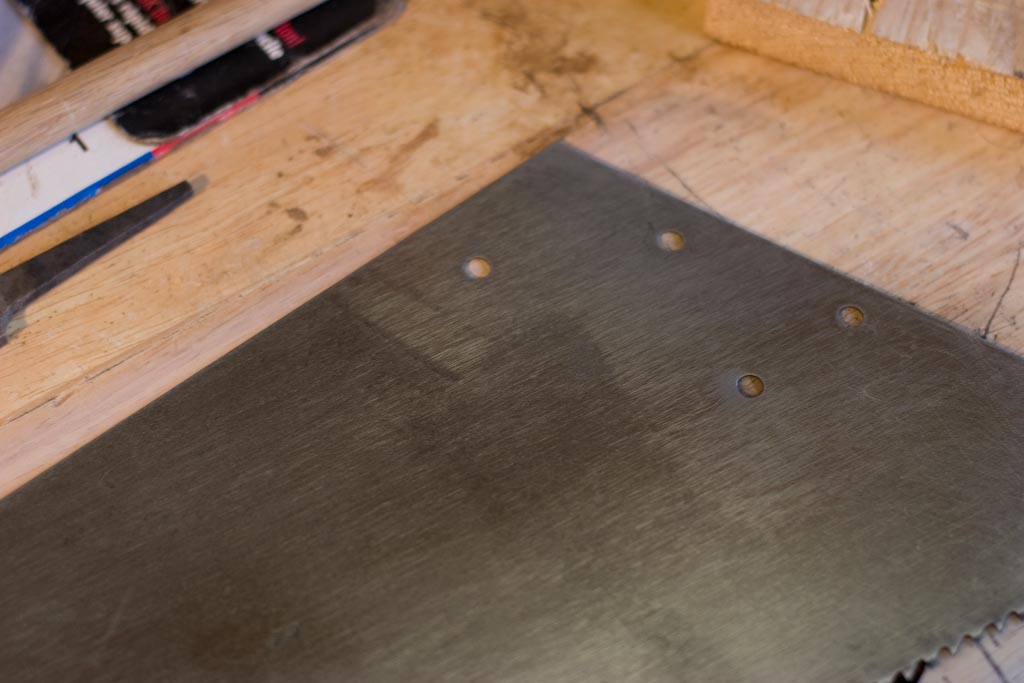
I think this was one of the newer ones, and it came out pretty darn good. You can see that it is almost as shiney along the length of the blade as it is under the handle area (handle is removed in photo below).
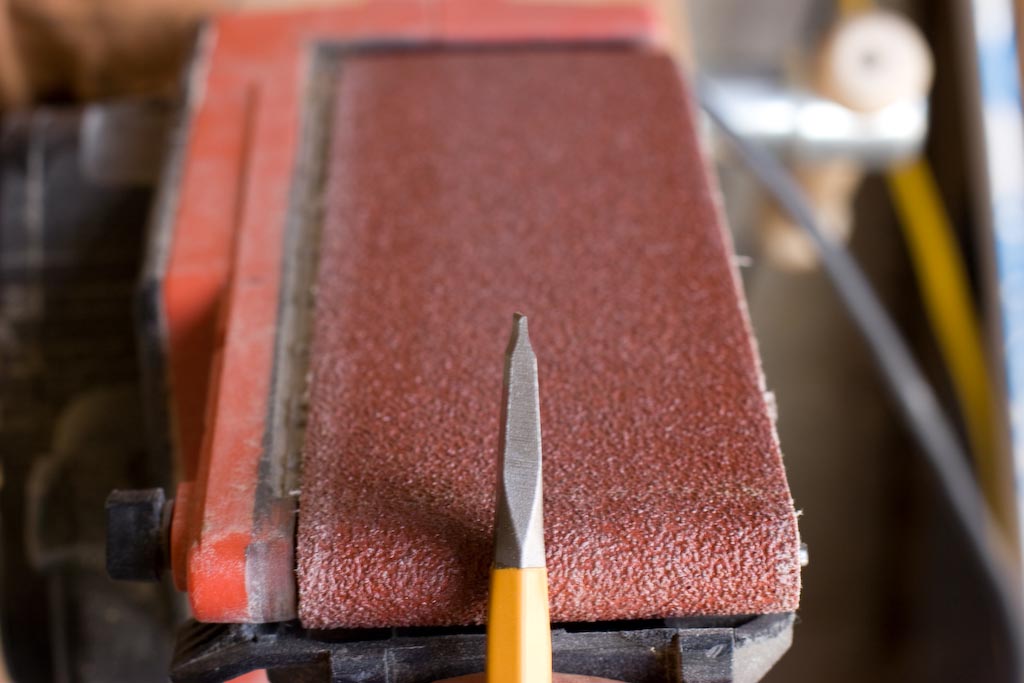
One thing about reading all these woodworking blogs, is that I’m starting to look at the hardware store (home center) as more of a stock of blank materials for tools rather than for tools themselves. Turns out that I needed (ok, wanted) a wider screwdriver (1/2″) for the saw nuts, but the home center only had screw drivers up to 3/8″. But they did have a 1/2″ cold chisel, for half the price of a screw driver. A few minutes on the belt sander, and I had a new gunsmith style screw driver.
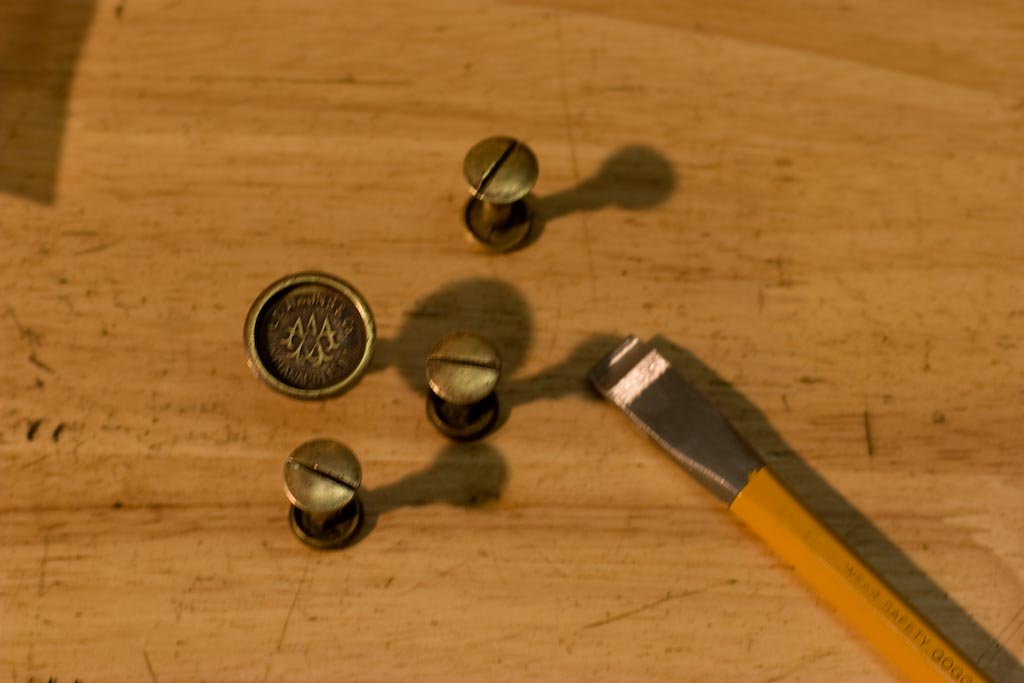
After a little more brasso on the screws and nuts:
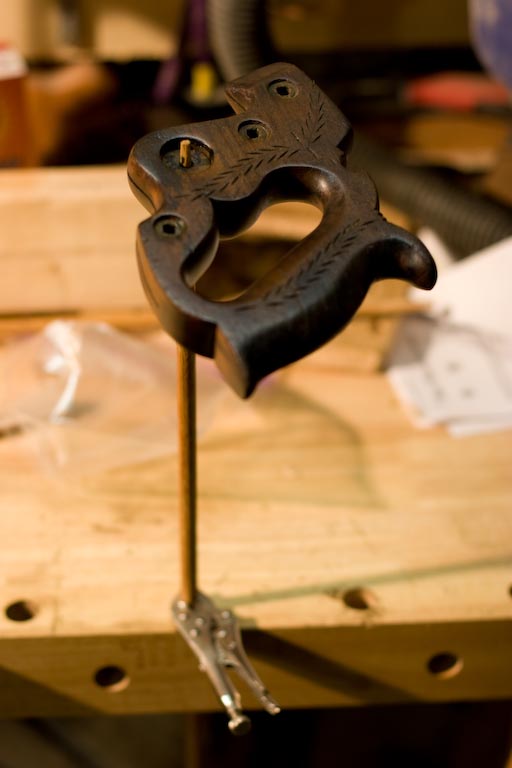
Then, some sanding and a new coat of oil and varathane for the handles. Fancy drying rack, eh?
Whew, 4 saws cleaned up in 1 day. Now to take the kinks of of some of them, build a saw vice, and actually sharpen them. Although I did try one, and it actually worked OK without even being sharpened. However some of the others really need some work.
