Monthly Archives: April 2013

Saw Cleaning

Becky’s dad was kind enough to give me three old saws, and then I found 2 more for $5 each at the Longmont indoor flea market.

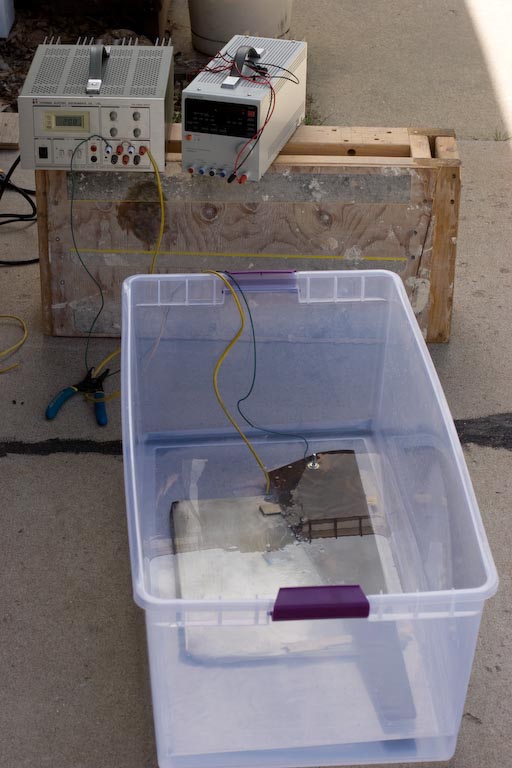
So step one, was rust removal (using electrolysis). However, after 3 saws, I ended up just using brasso polish and sandpaper – which seemed to do OK too. I think the electrolysis approach might have worked better if I had a beefier power supply, neither of the supplies I had would do even 1 Amp at 12V. The best I could do was with the 6V, 5A supply, which ended supplying more like 5V at 5A.

IMG_7032

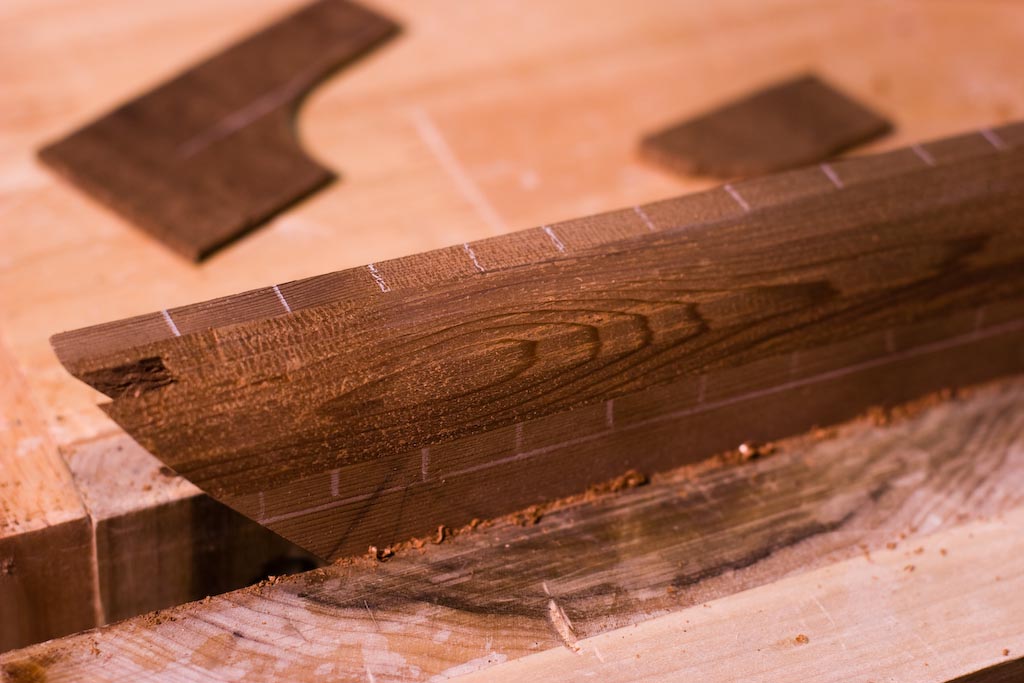
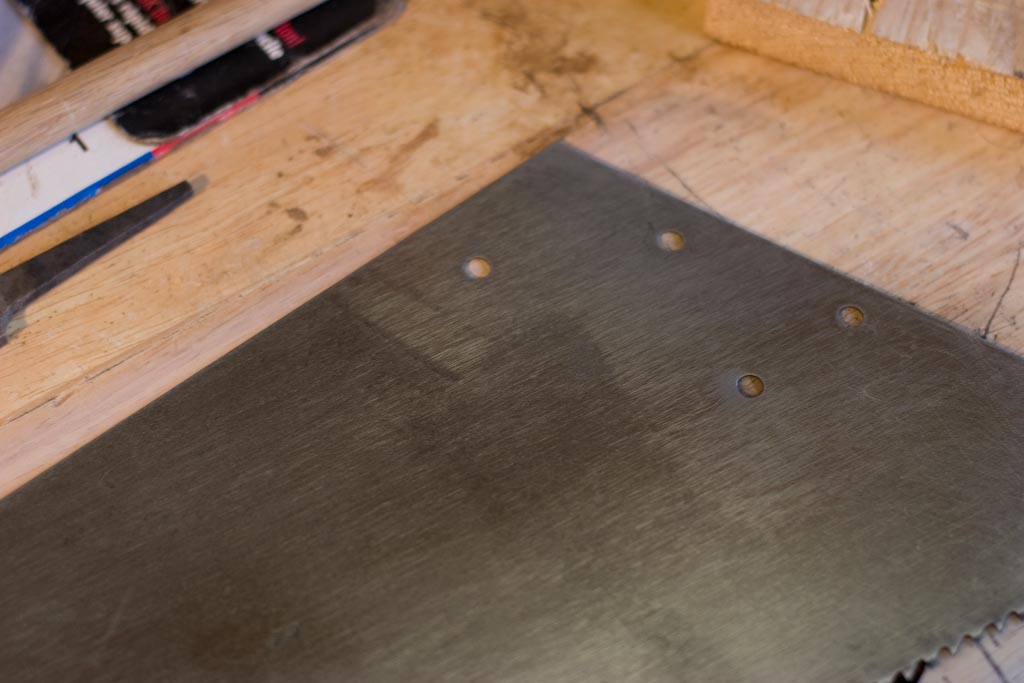
Some saws came out better than others.

IMG_7043

IMG_7038

IMG_7034

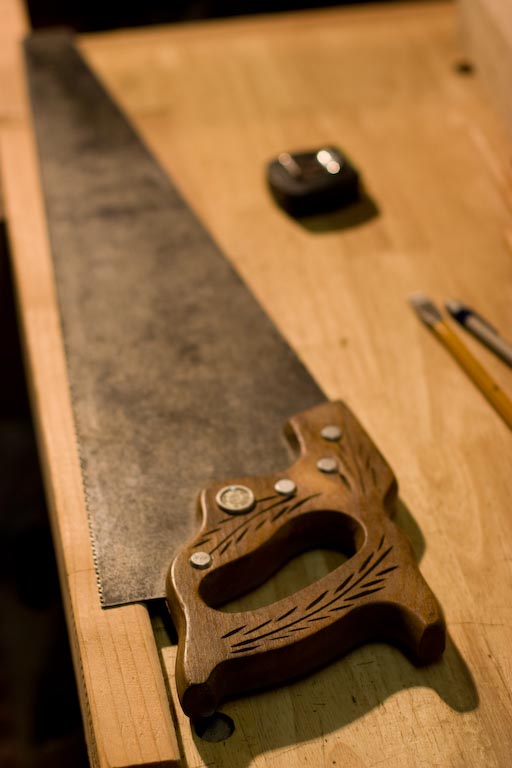
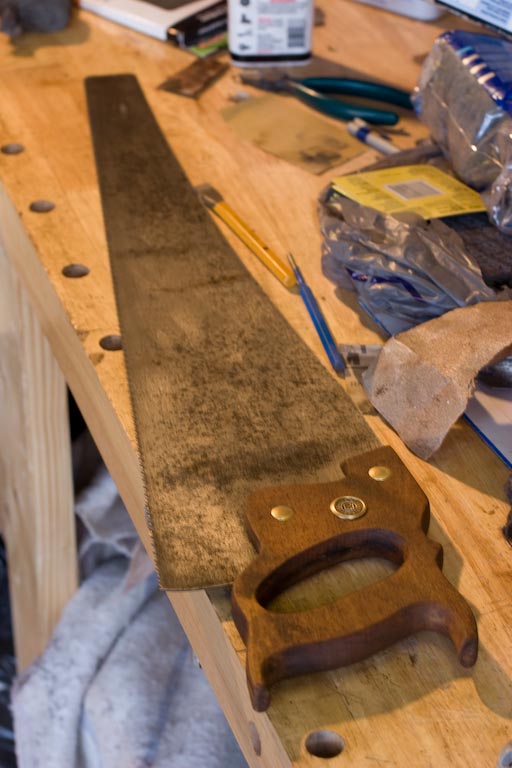
I think this was one of the newer ones, and it came out pretty darn good. You can see that it is almost as shiney along the length of the blade as it is under the handle area (handle is removed in photo below).

IMG_7037

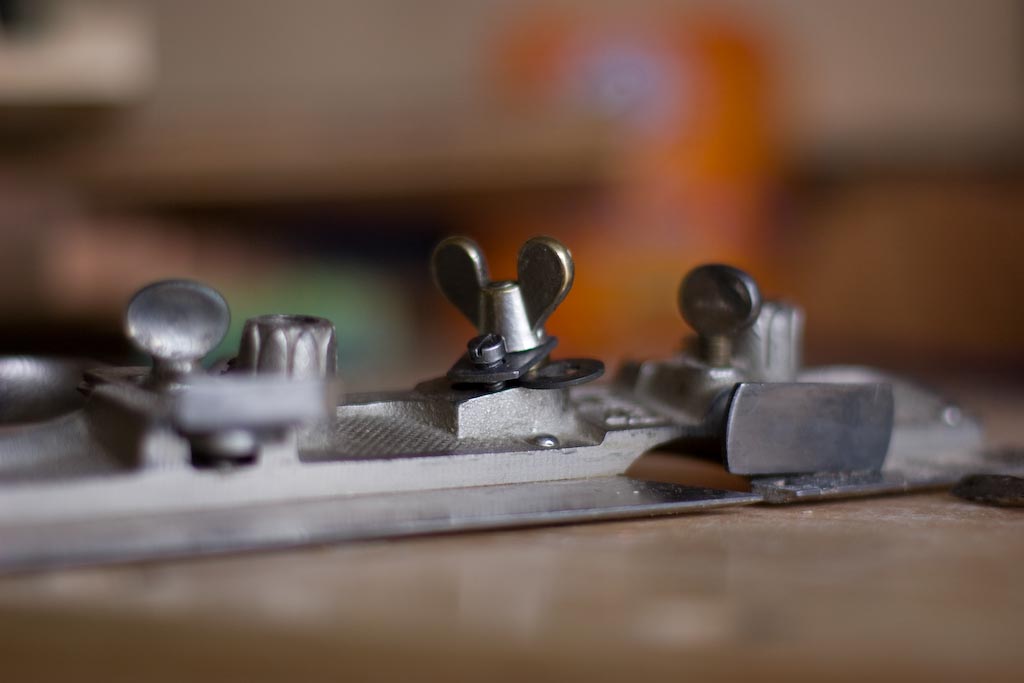
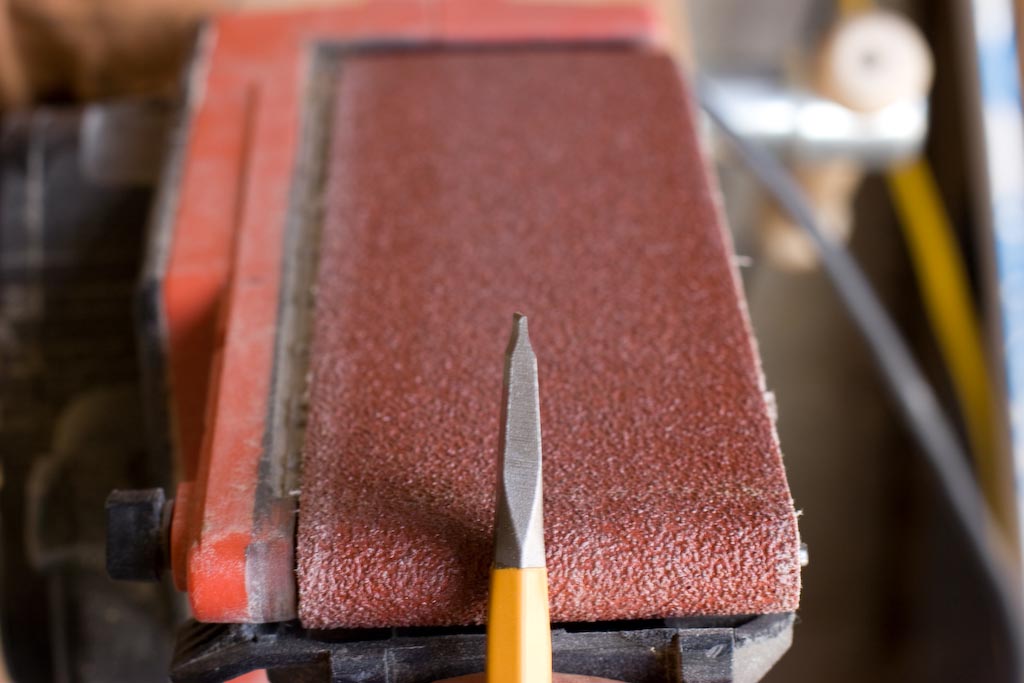
One thing about reading all these woodworking blogs, is that I’m starting to look at the hardware store (home center) as more of a stock of blank materials for tools rather than for tools themselves. Turns out that I needed (ok, wanted) a wider screwdriver (1/2″) for the saw nuts, but the home center only had screw drivers up to 3/8″. But they did have a 1/2″ cold chisel, for half the price of a screw driver. A few minutes on the belt sander, and I had a new gunsmith style screw driver.

IMG_7033

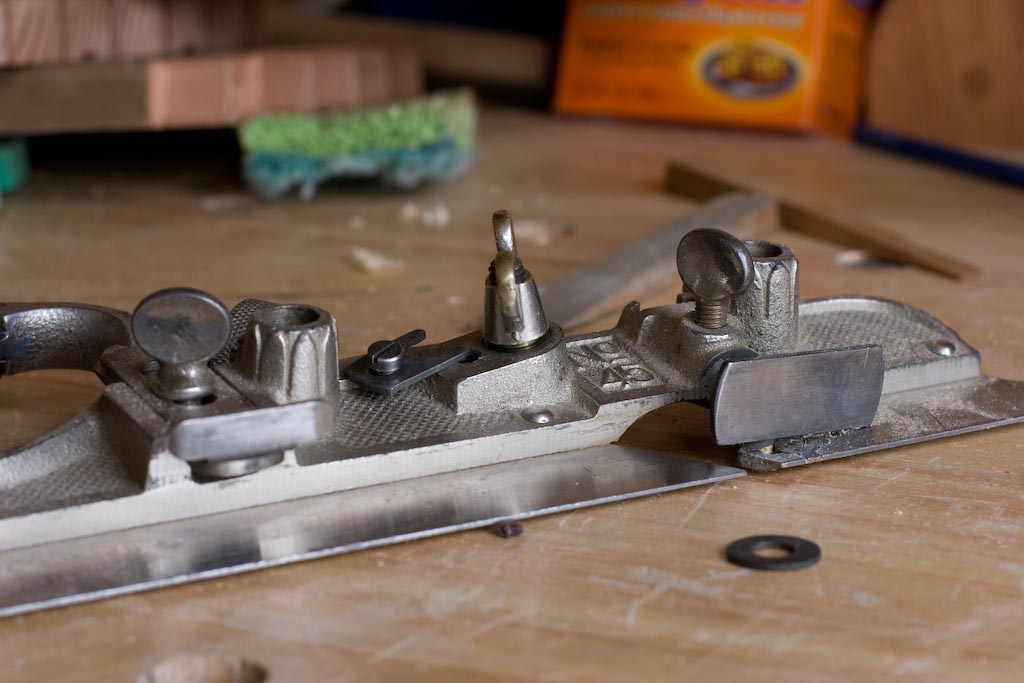
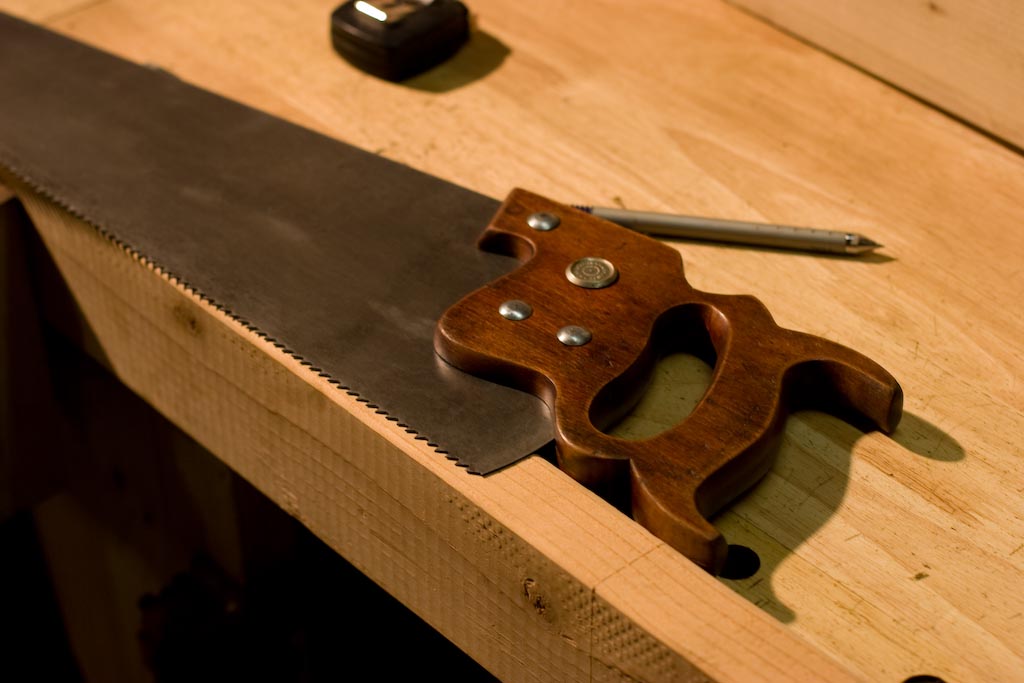
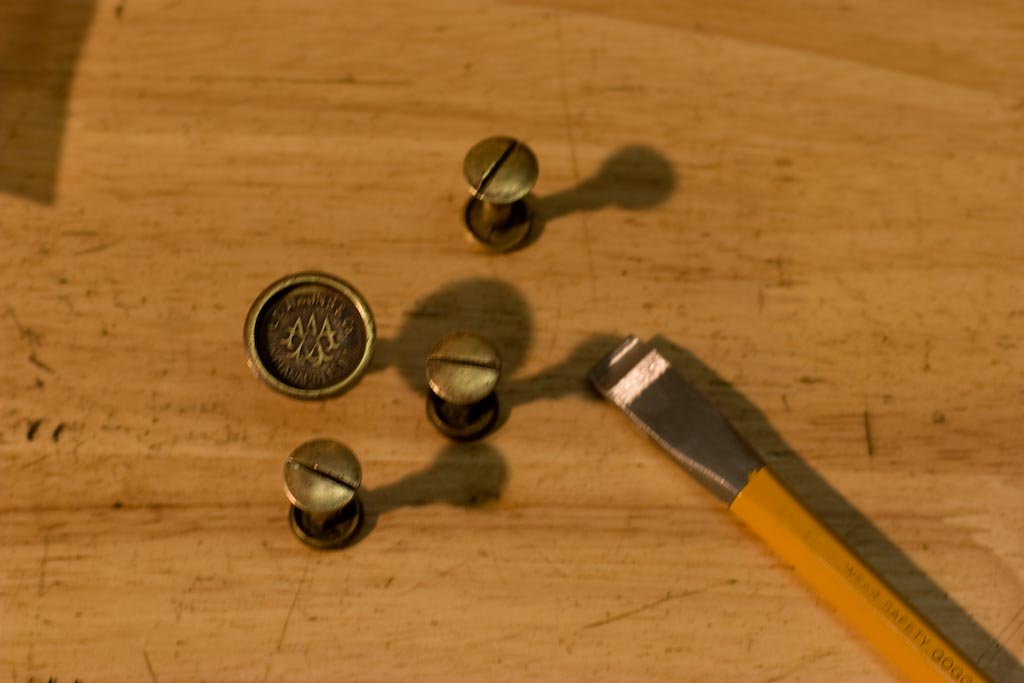
After a little more brasso on the screws and nuts:

IMG_7044

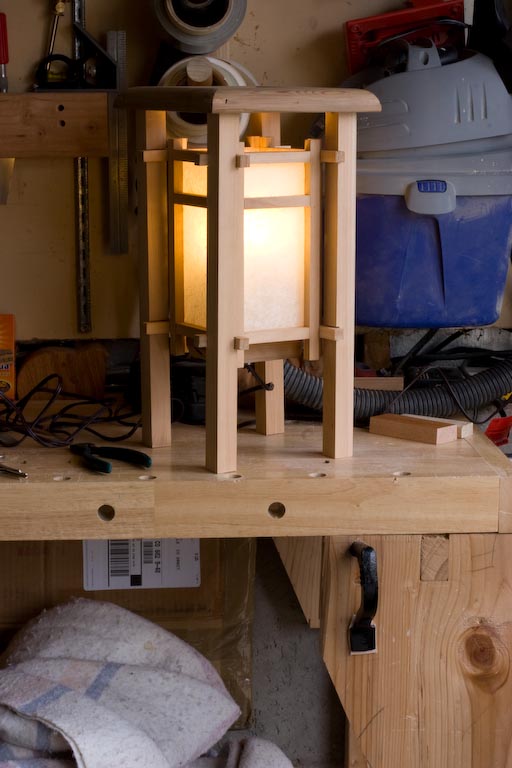
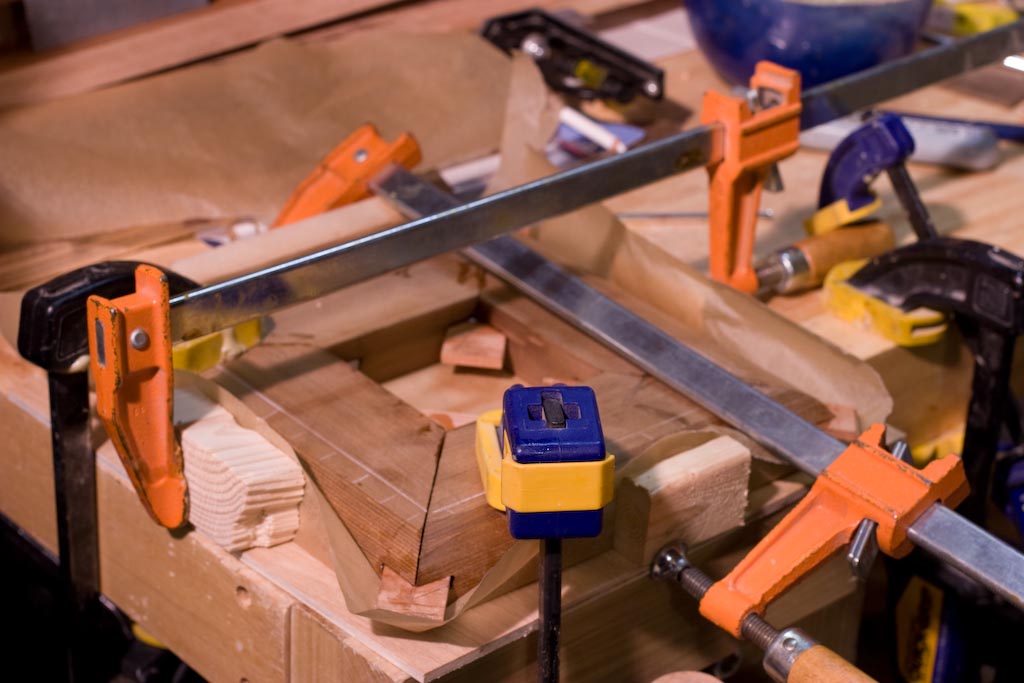
Then, some sanding and a new coat of oil and varathane for the handles. Fancy drying rack, eh?

IMG_7041

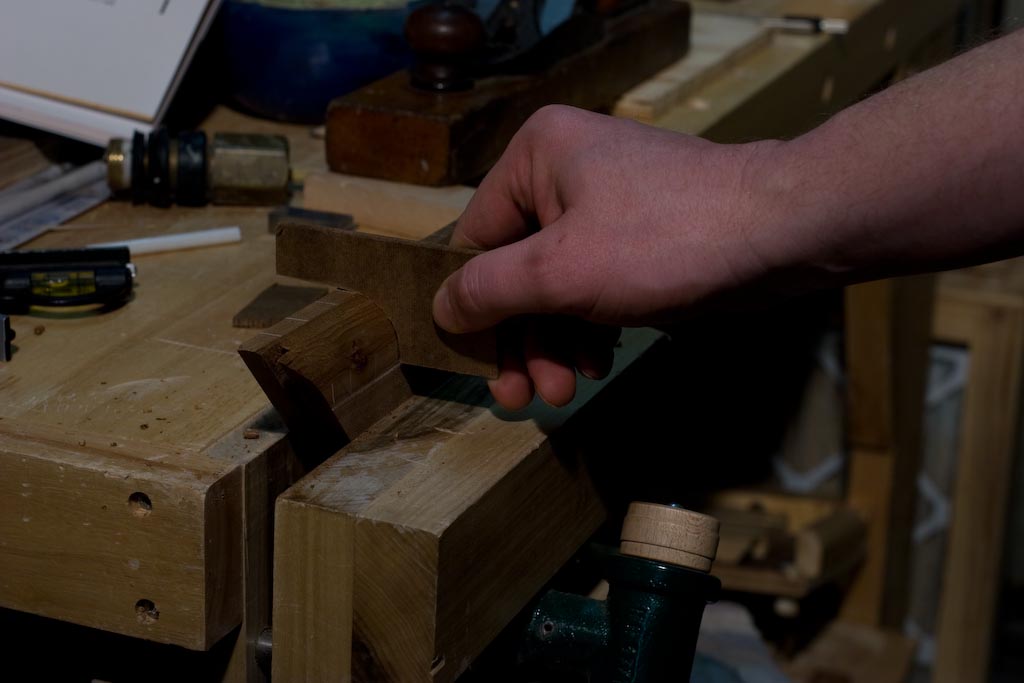
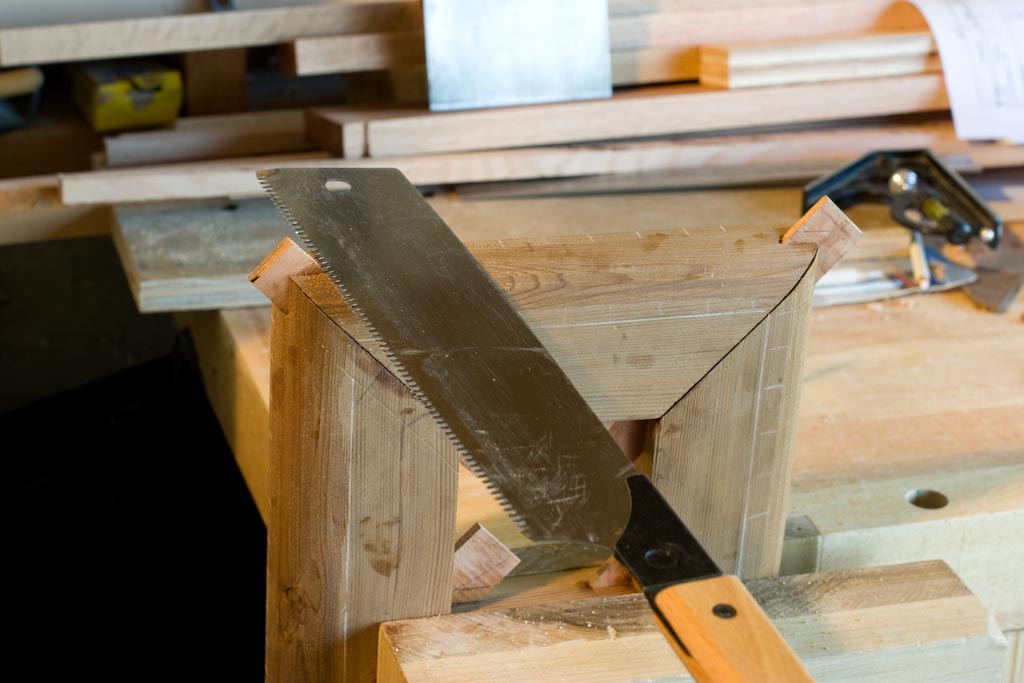
Whew, 4 saws cleaned up in 1 day. Now to take the kinks of of some of them, build a saw vice, and actually sharpen them. Although I did try one, and it actually worked OK without even being sharpened. However some of the others really need some work.

Screwy Washer

This has been over a year long struggle – why won’t screw for the retainer for the blade tightener on the plow plane stay in place?

At first I thought that the screw had previously broken (you never know with these craig’s list specials). So, then I tried to go to the box store and even McGukin’s (one of the most complete hardware stores I’ve ever seen) to get a new, longer, screw. No dice. Turns out that Stanley designed in a 10-30 screw, which no one has make for a long time – probably since the 1940’s or 1960’s. There is a guy at McGukin’s that will make you custom screws on his lathe, but I figured I should be able to find a replacement screw online.

After a bit of poking around, I was able to order one online. However, at first the wrong screw got sent, but Bob Kaune was nice enough to send the correct one free of charge. Yay! So, the proper screw arrives, and it is the same length. Crap. So, I try it thinking that maybe the original one was just stripped or something – after all, there is only a little over 1 thread engaged.

In the photo below, the screw through the little metal retaining clip is the one I’m talking about. I have it carefully stages so that the amount of thread above the space is about all that was engaged, when I purchased the plane.

IMG_7022

Plow plane sits in the box for over a year, while I ponder my next steps.

Today, I decide to get a custom screw made by the guy at McGukin’s. So, I take out the plane and remove the screw, so I can give it to the guy, so he has a model, and I can tell him to just make it twice as long. To make it easy on myself, I completely removed the wing nut, and the washer below it fell off in the process. Hmm, I say to myself, “what is this depression in the plane?”

Turns out that somebody had put this washer in the way, so that the wing nut would not sit in its milled spot. You can see the problem washer wedged under the spacer in the above photo.

This washer caused 2 problems. 1) it made for the need of a longer screw. 2) it made the retainer clip sit at an angle.

Below the wing nut is shown, just barely out of its socket.

IMG_7028

Here it is again, fully in its socket.

IMG_7025

So, now the retaining clip will sit fully engaged with the outer surface of the plane body, and the screw is the perfect length. The offending washer (shown off to the right) has been stored in the box – just in case is has some other mysterious purpose.

Russ

Japanese Lantern Completed

Yay!

Seems like the box stores just don’t carry the types of kits that the lamp book recommended. But, I was able to cobble together a kit from the parts they had. Cost too much, but oh well. I might attemp re-leveling the feet. They looked ok on the bench, but not on the table (probably need to flatten the bench, which might wait for a new top to the bench in a few years).

Completed Japanese Lantern

Lessons Learned:

  • Do your stock shaping before your miter cuts.
  • Miter cuts are hard to get right – I’m not super happy with how these came out. Maybe one the shooting board is complete, I’ll be able to fine tune these better.
  • Ceder is nasty stuff. Wear proper dust mask and ventilate/filter, whenever sanding or even using a fine pitched saw.
  • Pine is probably too fragile for large splines.
  • Splines wider than a saw kerf are hard to get right. Maybe now that the plow plane is fixed, this will be easier in the future (more on this in the next post).
  • Getting the rice paper tight was one of my initial worries, but the book’s trick for spraying it down, after the glue has dried, to shrink the paper worked great.
  • I do like the open time of hide glue, but if the room (ie garage) is a little on the cool side, then it is a good idea to keep it in a glass of warm water, so it doesn’t turn into silk thin threads of stretchy mozzarella too soon.
  • I still like the expanding style glue for some things.
  • A router plane sure would have been helpful attaching the top to the legs, but I’m not sure that the super small one required for this project would get used on other projects. Just a regular chisel seemed to do ok, even if a little time consuming.

I’m not sure if I’ll be making another lamp in this style, give how long the project took. By maybe. I’d like to see if I could do a better job on the top, which didn’t come out quite as nice as I would have liked.


Japanese Lantern Top

After a winter break, I started in earnest on the top for the Japanese lantern.

First up, marking the outer edges.

Next up, shaving them down, and checking the round with a template (made from 1/8″ MDF)

I really liked how the figure started to come out on one of the pieces.

Time for the miter glue-up

Next, Trimming up the loose chads.

Then some final shaping with sanpaper


Glueing the legs to the central carcass.